
Dinámica empresarial
Una empresa de alta tecnología especializada en el desarrollo y producción de dispositivos médicos, centrándose en equipos orales
Dental Instruments Sterilization & Disinfection Specification
2021-10-07
Autor:
Due to the particularity of the operation of dental treatment, dental medical institutions can easily become the hardest-hit areas for cross-infection. So how do dental hospitals disinfect instrument and protect the safety of doctors and patients? Then, let's start together understanding the process of disinfection of dental instruments.

Chair-side pre-treatment process
In order to improve the cleaning quality of dental instruments, the pre-treatment of instruments in the clinic is particularly important. After the treatment, the nurse or medical assistant should promptly wipe the blood stains, dust, adhesives, dental filling materials and other residues on the surface of the dental instruments with dressings or alcohol cotton balls by the chair. Store the instrument in a moisturized manner or place it to the disinfection room as soon as possible to prevent the dirt from drying out and affecting the quality of cleaning and disinfection.

Instrument recycling classification
The instrument needs to be sealed and moisturized when recycling, especially the working end, which can be placed in the recycling and washing rack containing the multi-enzyme solution, and placed in the recycling box for temporary storage; it can also be moisturized by spray-type enzyme moisturizer. The recycling container should be cleaned, disinfected and dried after each use. When recycling, pay attention to personal protection, check whether the gloves are damaged, and take standard precautions. It is forbidden to directly touch the sharp tip with your hands to avoid needle stick injuries. Burs , handpieces and other small devices should be handled separately.

Manual Cleaning Operation Instructions
1. Flushing: Rinse the instrument under running water to remove contaminants initially.、

2. Brushing and scrubbing: The instruments after washing should be soaked with enzyme cleaning solution, and the liquid surface should be flooded with the instruments during soaking to keep them fully moist. Then brush and scrub.
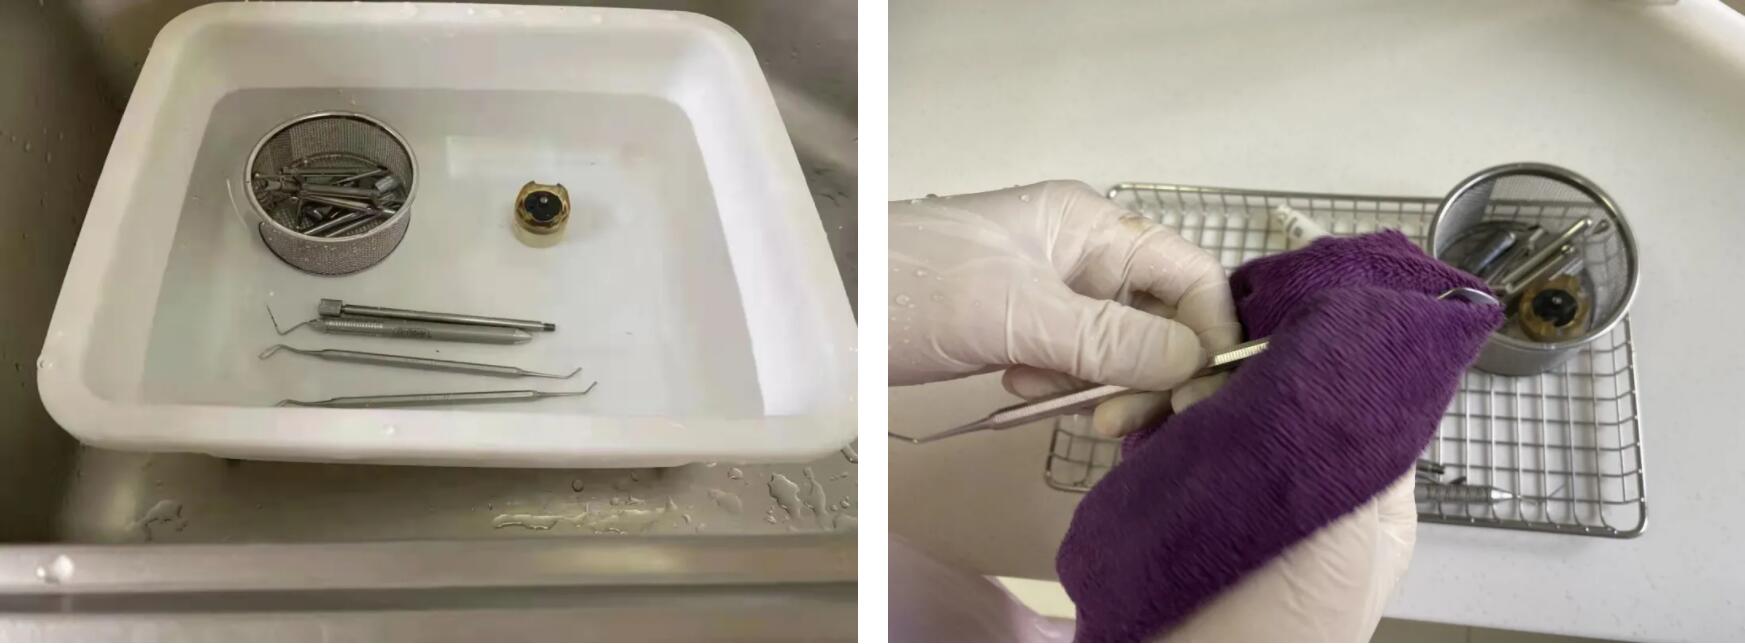
3. Final rinse: After brushing and scrubbing, rinse with purified water.

Note: The water temperature should be 15~30℃ during manual cleaning. The scrubbing operation should be carried out under the water surface to prevent aerosol and water splashing.
Ultrasonic Cleaning
1. Ultrasonic cleaning can improve the effect and efficiency of cleaning.
It is suitable for difficult-to-clean instruments such as blood-stained dental forceps, burs and other instruments with complex structures. The cavitation, acceleration and direct flow effects of ultrasonic in the liquid directly or indirectly affect the liquid and dirt, so that the dirt layer is decomposed, emulsified and stripped to achieve a cleaning effect, which can penetrate into the blind point or fine parts that cannot be seen by humans.

The ultrasonic cleaning time should be 3min-10min, which can be appropriately determined according to the contamination of the equipment and the power of the ultrasonic machine.
Note: Ultrasonic cleaning is only an auxiliary cleaning of manual cleaning.
Ultrasonic cleaners cannot vibrate to clean handpiece and easily damage the bearings, especially expensive handpiece (such as implant handpiece). Then we can use our medical washer.

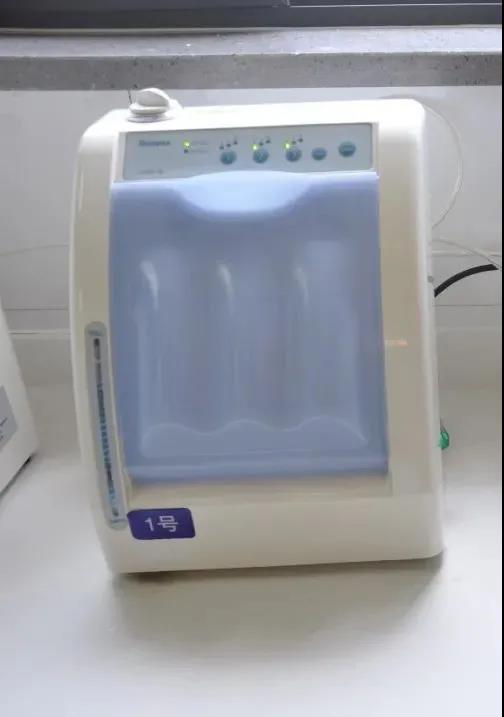
2. Handpiece is recommended to be cleaned by a medical washer
Dental handpieces are manufactured with precision and complex structure. They are in close contact with patients' saliva and blood during diagnosis and treatment, so special device is used for cleaning.
Cleaning process: Rinse under running water to remove obvious dirt on the surface of the dental handpiece. Put the dental handpiece into the mechanical cleaning equipment, fix the dental handpiece, select the correct cleaning program, and start the equipment to start cleaning. The cleaning water flow and airflow conform to the internal structure of the dental handpiece.

Features:
1. Fully enclosed, non-contact, safe, hygienic, convenient, effective and fast;
2. The dental handpiece can be cleaned both inside and outside, and the cleaning effect is stable and reliable;
3. Integrate cleaning and disinfection as a unit;
4. Different procedures can be selected to targetedly achieve the ideal cleaning and disinfection effect by using reasonable time, appropriate temperature, quantitative cleaning agent.
Instrument Drying
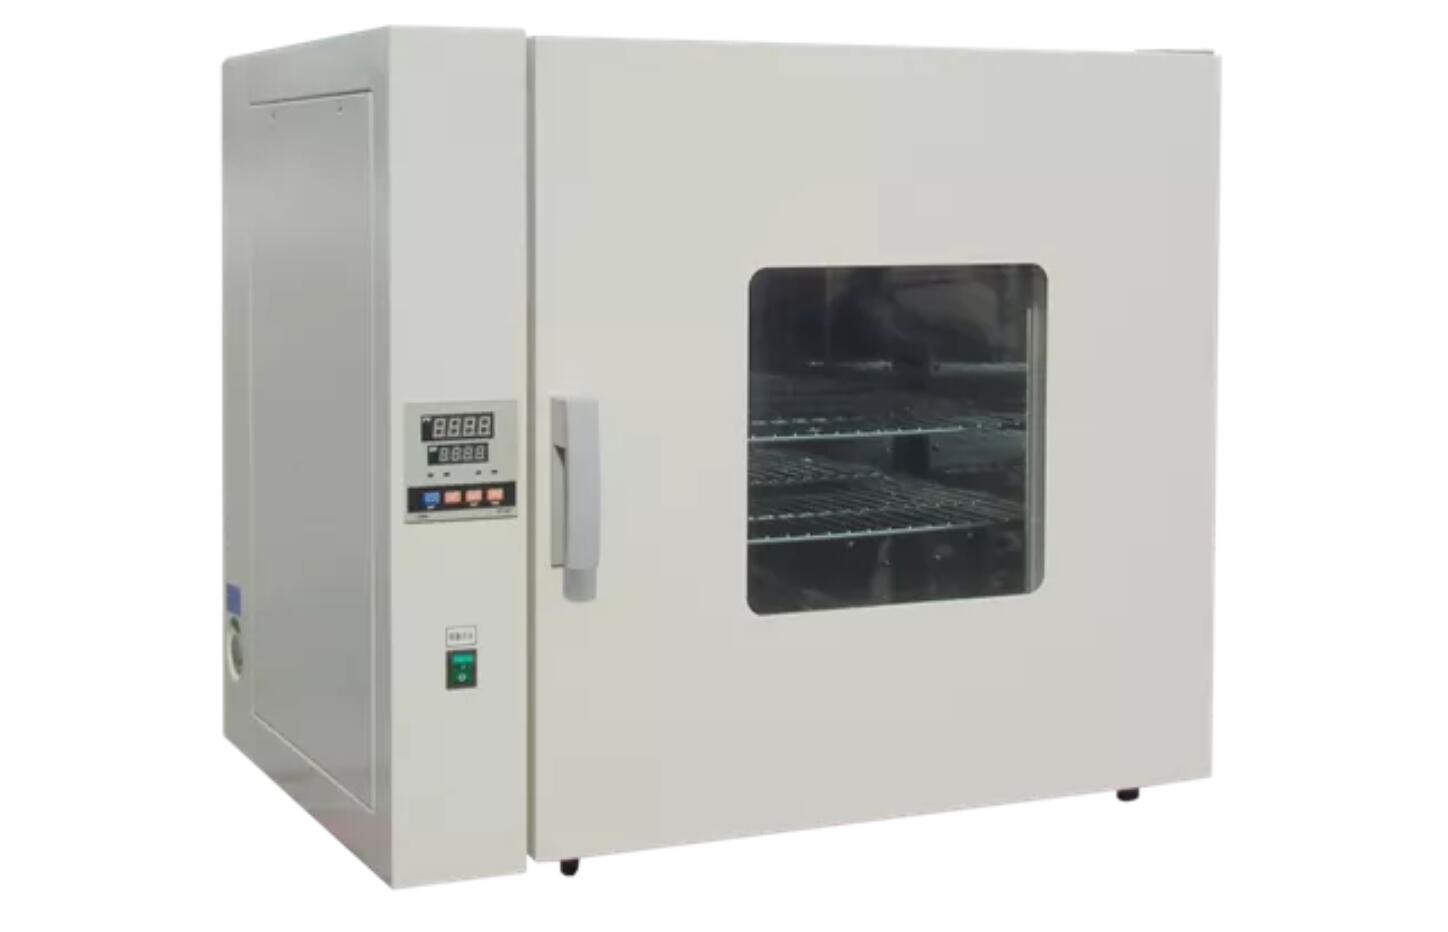
Dental instruments need to be dried before autoclaving. Place the instrument in a drying oven to dry. The appropriate drying temperature can be selected according to the material of the device.
Strength:
1. Reduce the risk of wet packs, and more guarantee the pass rate of equipment sterilization.
2. Facilitate the lubrication and maintenance of the joints of the instruments and the lumen of the handpiece.
3. Reduce the risk of rusting of the equipment and prolong the service life of the equipment.

Lumen instruments and small instruments such as burs can be dried with a high-pressure air gun.
Handpiece Lubrication Maintenance
It is recommended to configure a dedicated automatic lubricator for dental handpieces
Operation Instructions: Choose lubricating time and machine position. Start the cleaning and filling program (Start key). After lubricating, start the drying program (Air key).
Time: 35 seconds each. Improve work efficiency. Airtight device reduces pollution.
Dental handpiece lubrication maintenance:
1. Lubricating, its function is to clean the debris in the gaps of bearings or turbine parts and lubricate the bearings and transmission parts.
2. Frequent lubricating can greatly increase the service life of the handpiece.
3. Lubrication should be done before sterilization after cleaning to protect the handpiece from being sterile before use and avoid contamination.
4. The inner cavity of the handpiece should be kept dry before lubricating.
Devices Check
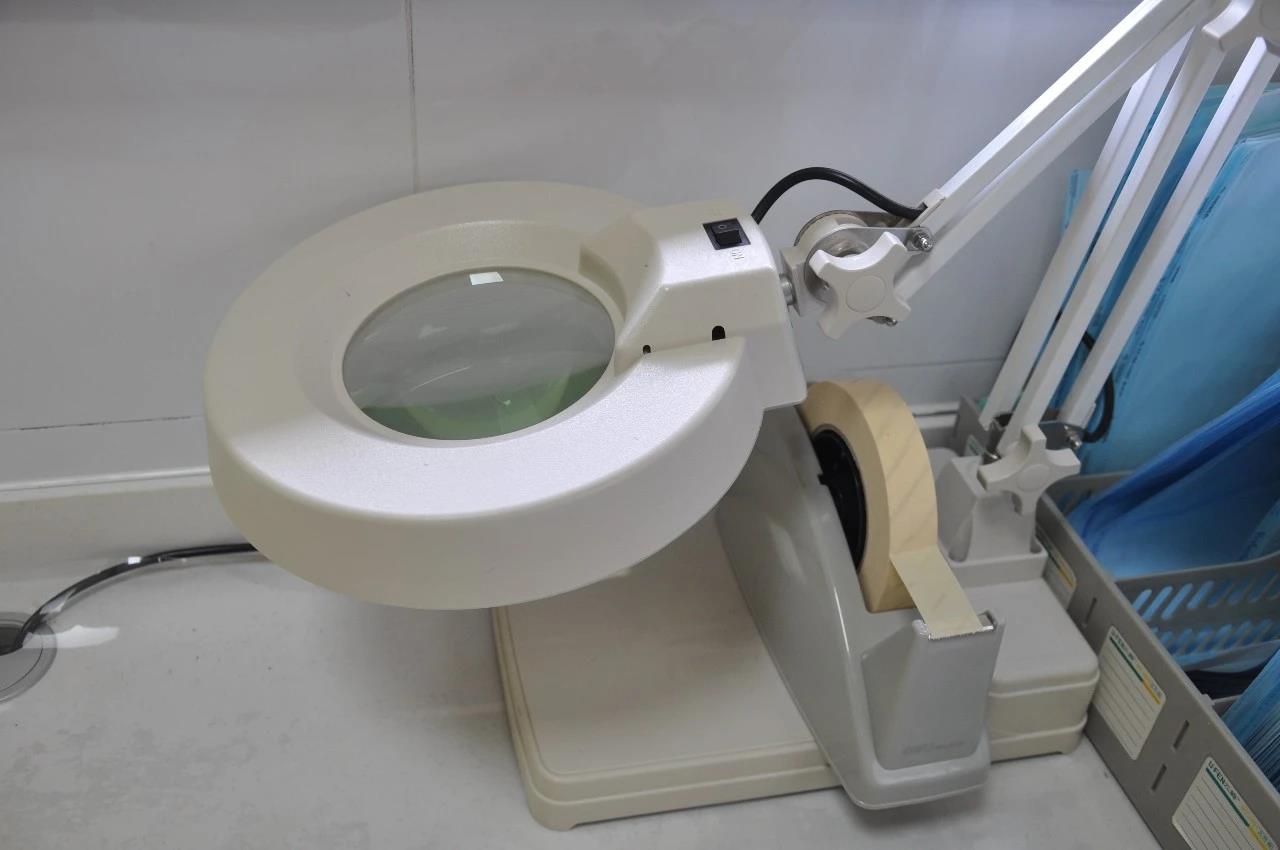
1. The oral instruments after dried should be inspected visually or by Light magnifier.
2. Details Standard:The surface of the devices, the spiral structure, and the joints should be free of stains, water stains and other residual substances and rust spots.
3. Re-handle the unqualified cleaning devices.
4. Damaged or deformed devices should be reported for damage and replaced in time.
Device Packaging and Sealing
Packaging requirements for sterilization bags of dental devices:
The packaging materials should be selected according to the characteristics of the devices and the frequency of use.
Low and medium risk dental devices can be stored in spare cleaning containers after disinfection or sterilization without packaging.
Small dental devices may be packed in dental device boxes.
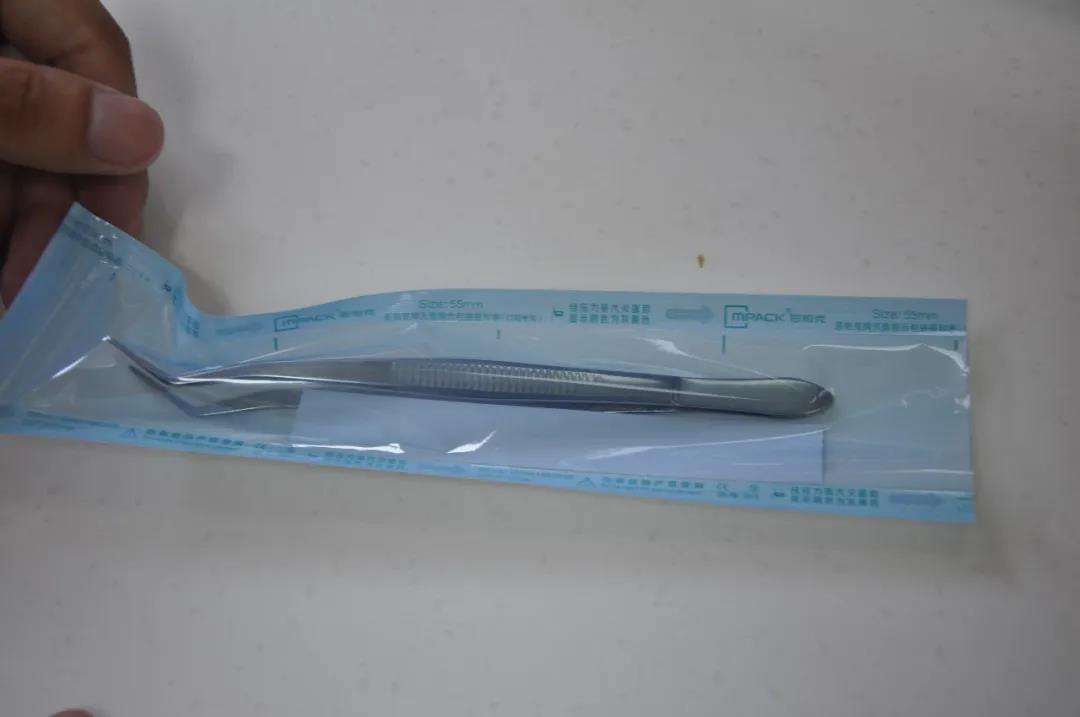
The packaging requirements are as follows: There should be a sterilization chemical indicator outside the package, and it should be marked with the name of the item, the packager, the sterilizer number, the sterilization batch, the sterilization date, and the expiration date. If there is only one sterilizer,the sterilizer number is optional. The paper-plastic packaging should be sealed completely, the sealing width is ≥6mm, and the distance between the package and the sealing position is ≥2.5cm.
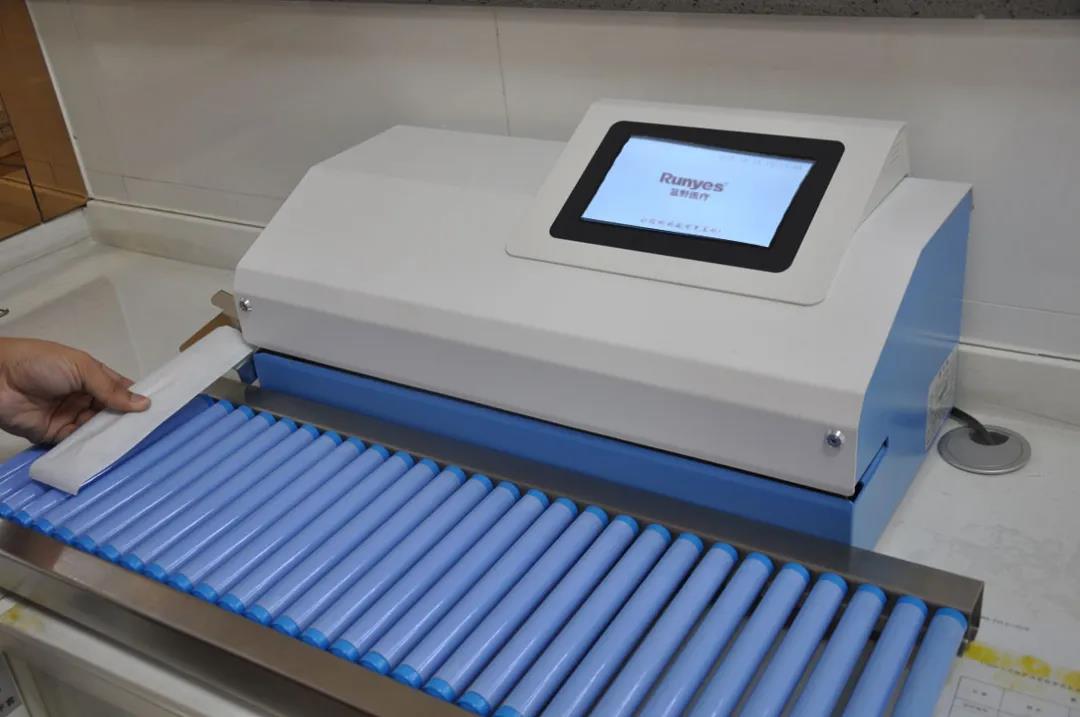
It is recommended to use a fully automatic sealing machine: it can effectively avoid the uneven manual pressing force, causing the paper plastic bag broken, and it can also print the sealing time, expiration date, operator, pot number, device name and other information.
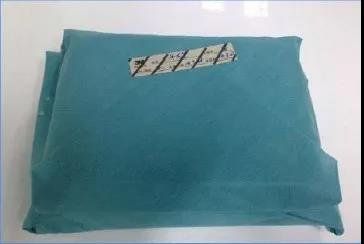
Sterilization packaging requirements for cotton fabric:
It can't be stiff or broken.The center of the fabric can’t be wired, but the four sides can.
Sealed with sterilized adhesive tape. A chemical indicator card or "crawling" card must be placed in the bag.
The fabric needs to be washed once, and the times of use must be recorded, and the quality of the fabric shall be checked each time it is used. It is suitable for all dental diagnosis and treatment devices, and is more suitable for surgical instruments with large volume and large quantity.
Disinfection & Sterilization
Loading principle: A reasonable weight of the loaded items should be selected according to the size of the sterilizer cavity, and the weight of the loaded items shall be subject to the manufacturer's instructions. The loaded items should ensure the smooth circulation of steam in the sterilization chamber, which will make the temperature uniform throughout the interior. It should be conducive to the exhaust of air from the sterilization chamber, which can ensure that the steam pressure and temperature in the container are consistent. Sensors such as temperature sensor and pressure sensor should not be blocked, so as not to affect the normal operation of the sterilizer.
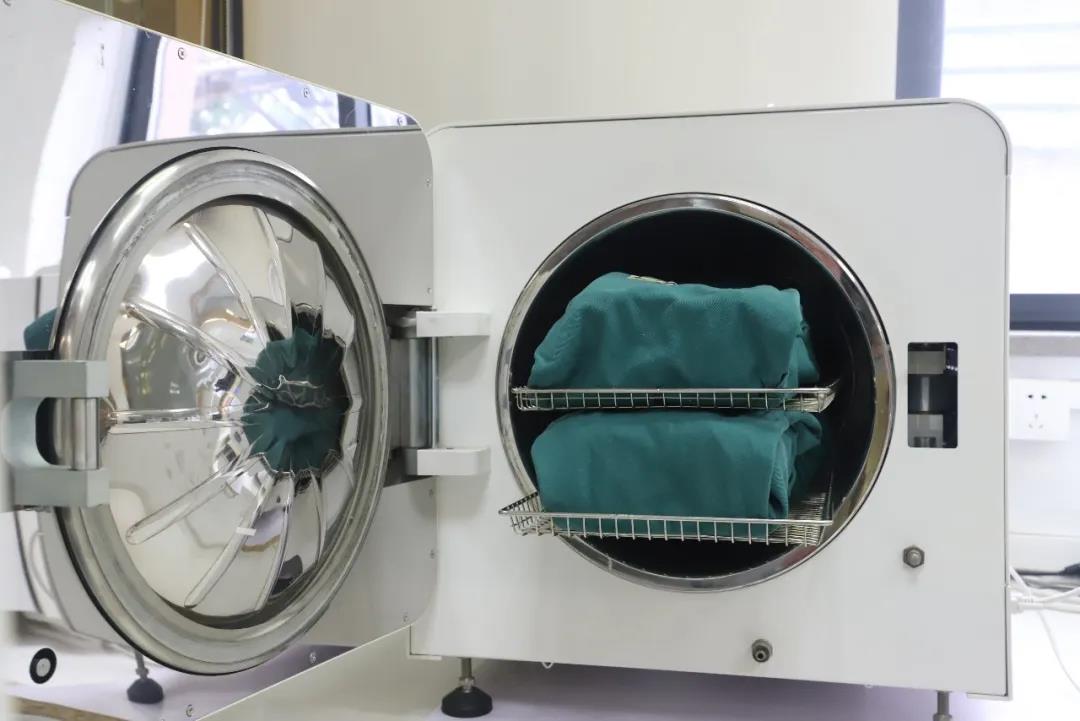
Loading method: Do not stack sterilized items tightly to prevent blocking the measurement and control ports of each sensor. If being blocked, the sterilizer will not be able to correctly reflect the temperature in the sterilization chamber, and continuous heating may cause abnormal pressure and temperature in the sterilization chamber, and even lead to sterilization failure. In severe cases, it will cause the sterilizer to malfunction.
For containers with lids, the lid should be opened to allow air and steam to exchange through the gap. If the lid is too tight, the container may burst easily during sterilization.
Placement method of paper-plastic packaging bags: use brackets and trays. The paper-plastic packaging bags are laid flat on the tray, with paper facing up and plastic facing down.

It is recommended to use a 45L large-capacity sterilizer
Large loading capacity, which can meet the needs of large consultation rooms and high-frequency sterilization, especially suitable for sterilization of surgical packages;
Adopting civil electricity, whose voltage can be adjusted according to the demand before delivery, it can directly match the existing circuit of the clinic. The circuit does not need to be modified and is easy to use;
Adopting water circulation vacuum pump, with greater vacuum force and high drying effect.

Chemical Indicator Cards and Related Records
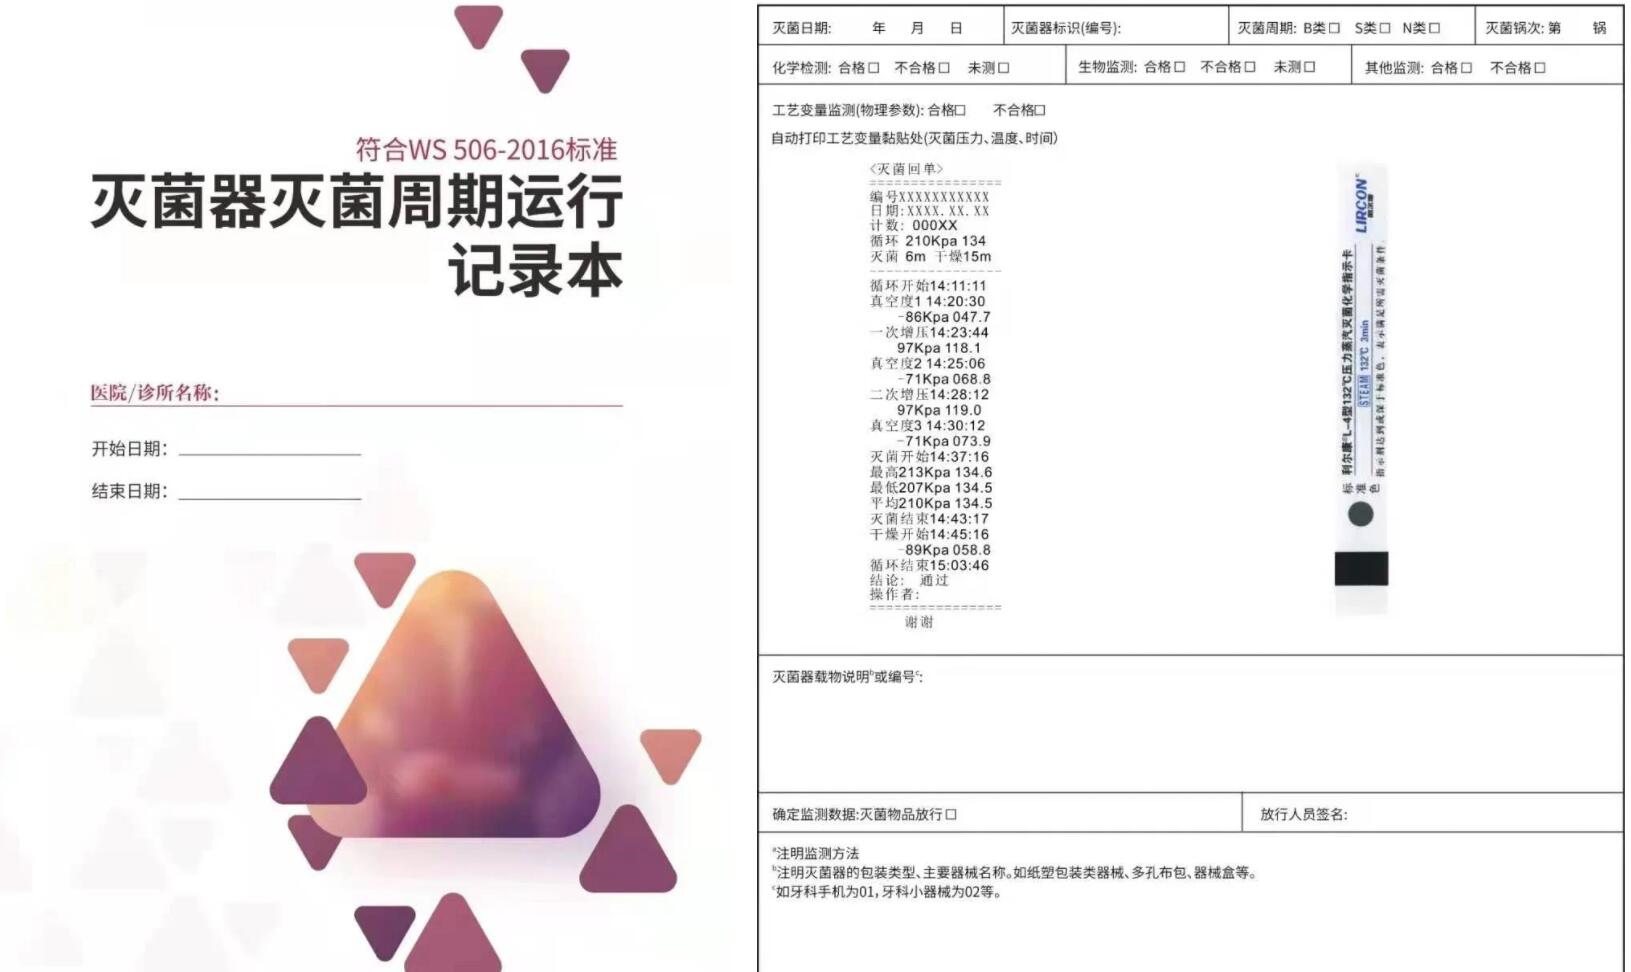
The results presented by each sterilization indicator should be systematically recorded, and should be traceable. The storage period of monitoring data and records should be more than 3 years, so that they can be referenced in case of problems.
Device Storage
Non-workers are not allowed to enter the aseptic room. Workers must wear isolation gowns and isolation shoes when entering, and store the equipment after cleaning, packaging, disinfection and sterilization in categories.
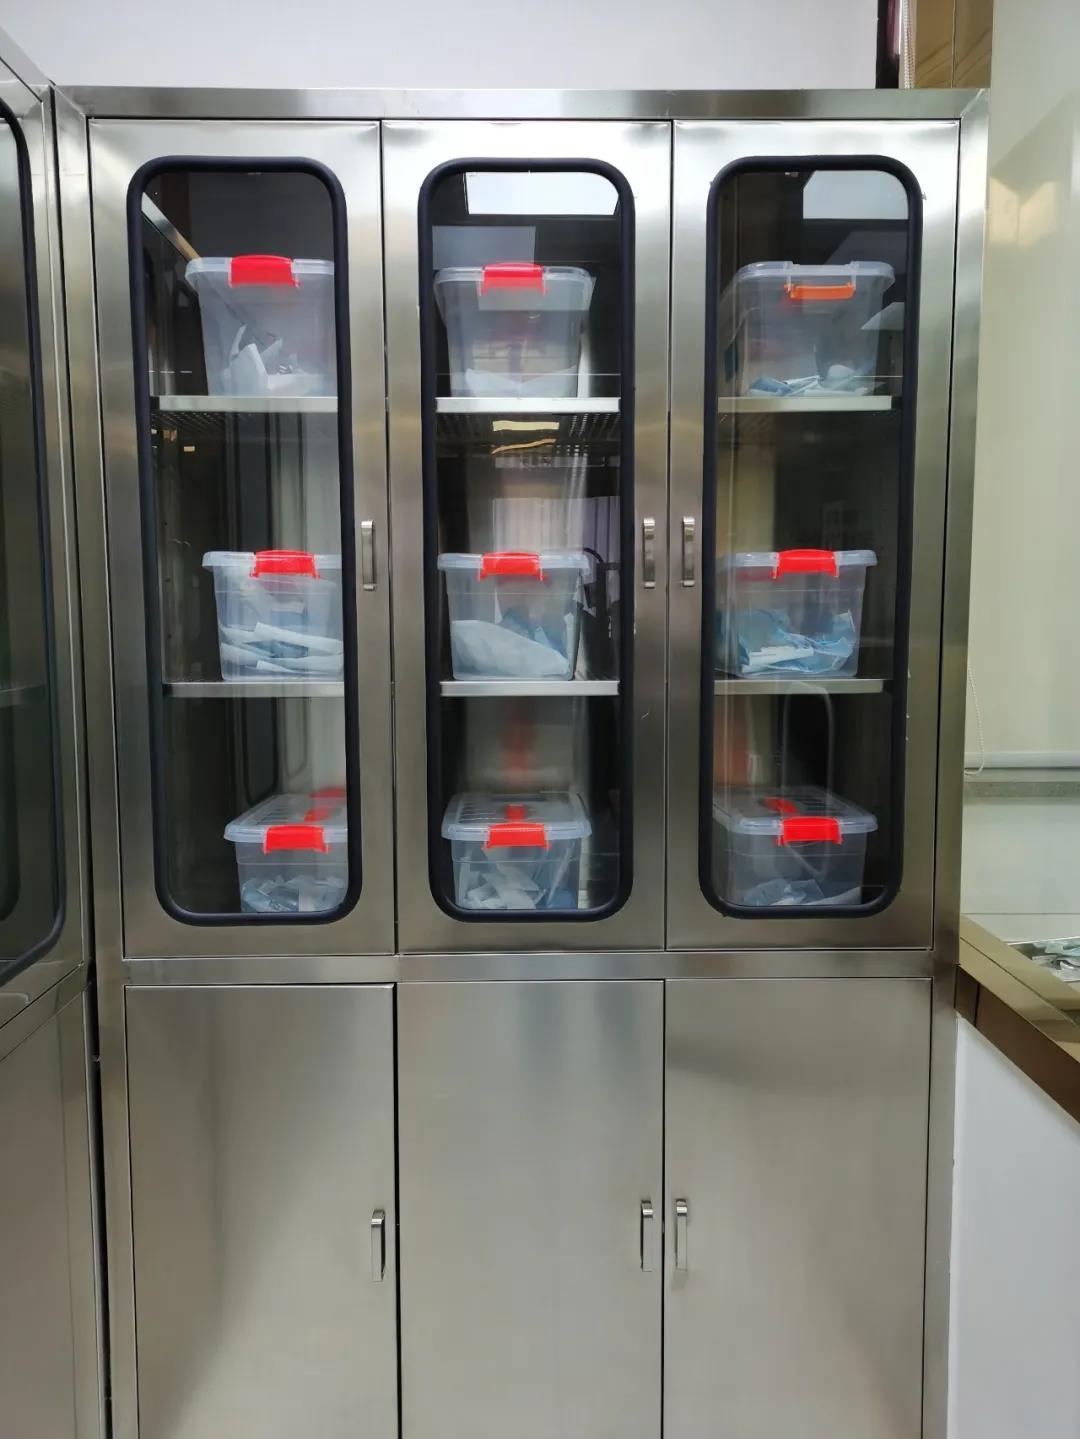
Principles of storage of sterile items:
Sterile items cannot be mixed with non-sterile items.
Sterile items must be placed in the sterile item storage area.
Sterile items should not be exposed to the air, and should be placed in a cabinet or in a covered container to prevent dust.
Sterile items should be 5cm away from the wall, 20cm away from the ground, and 50cm away from the ceiling.
Once the sterile package is taken out of the sterile cabinet, even if it is not used, it should be regarded as contaminated and needs to be re-sterilized. High-risk instruments that are sterilized without packaging and exposed should be used within 4 hours and cannot be stored.
If the sterile bag is dropped on the ground or placed in an unclean place by mistake, it should be regarded as contaminated and needs to be re-sterilized.
Storage environment air purification can use: ultraviolet light, circulating ultraviolet light, air sterilizer, electrostatic adsorption air purifier.
